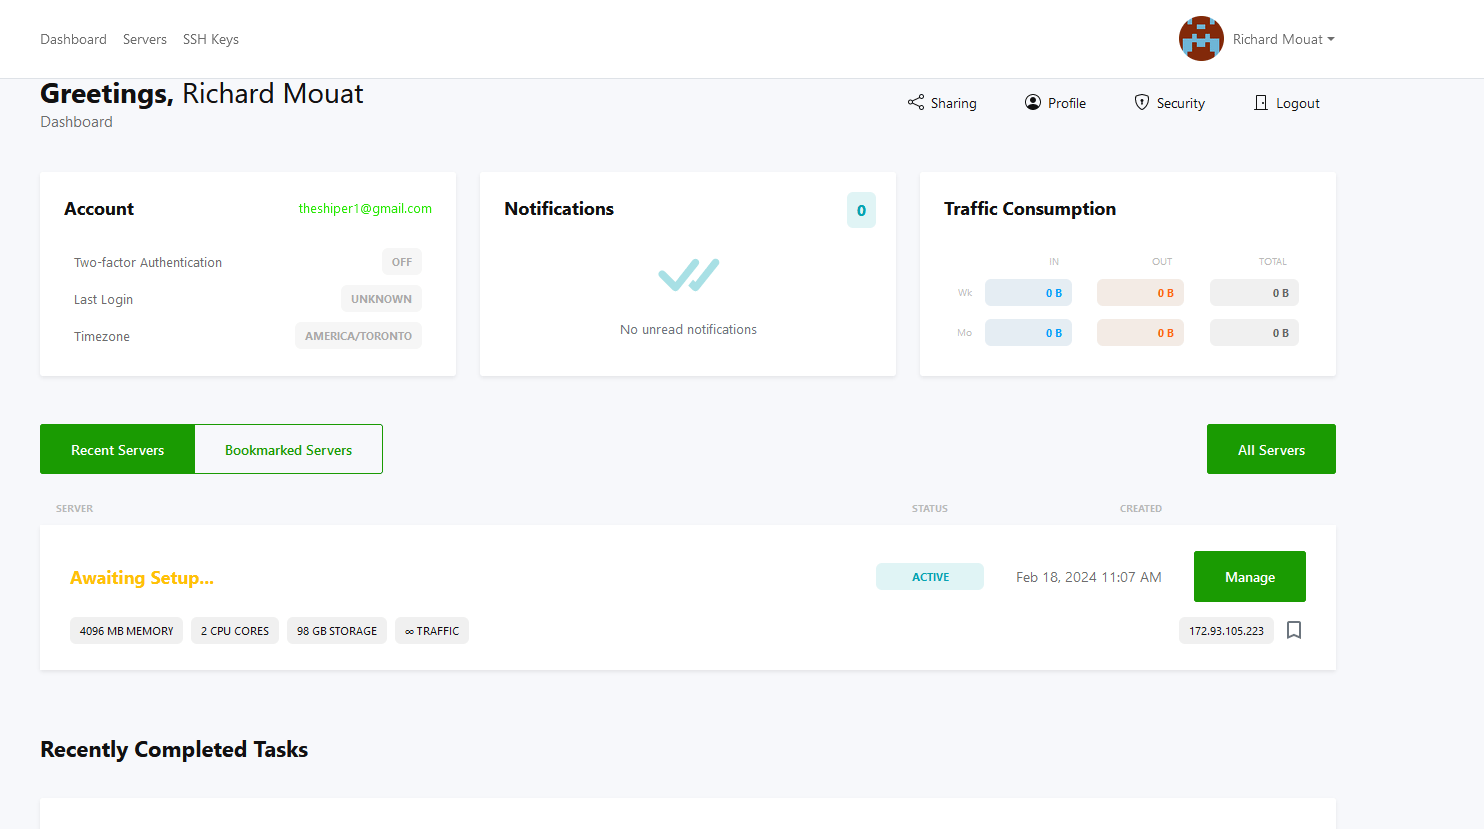
Here we will set up your new VPS together! On the new panel and go through some of the basics of the panel while setting up 946a707e Cd83 4f8e B561 018f5dd86125 When Logging In to the VPS Dash it will look something like this.
  1. Now we can see our server is “Awaiting Setup…” so let’s click that big “Manage” button to start the set up of the VPS
  2. In this GIF you can see that we named our server and set the hostname to “myserver.fsh”
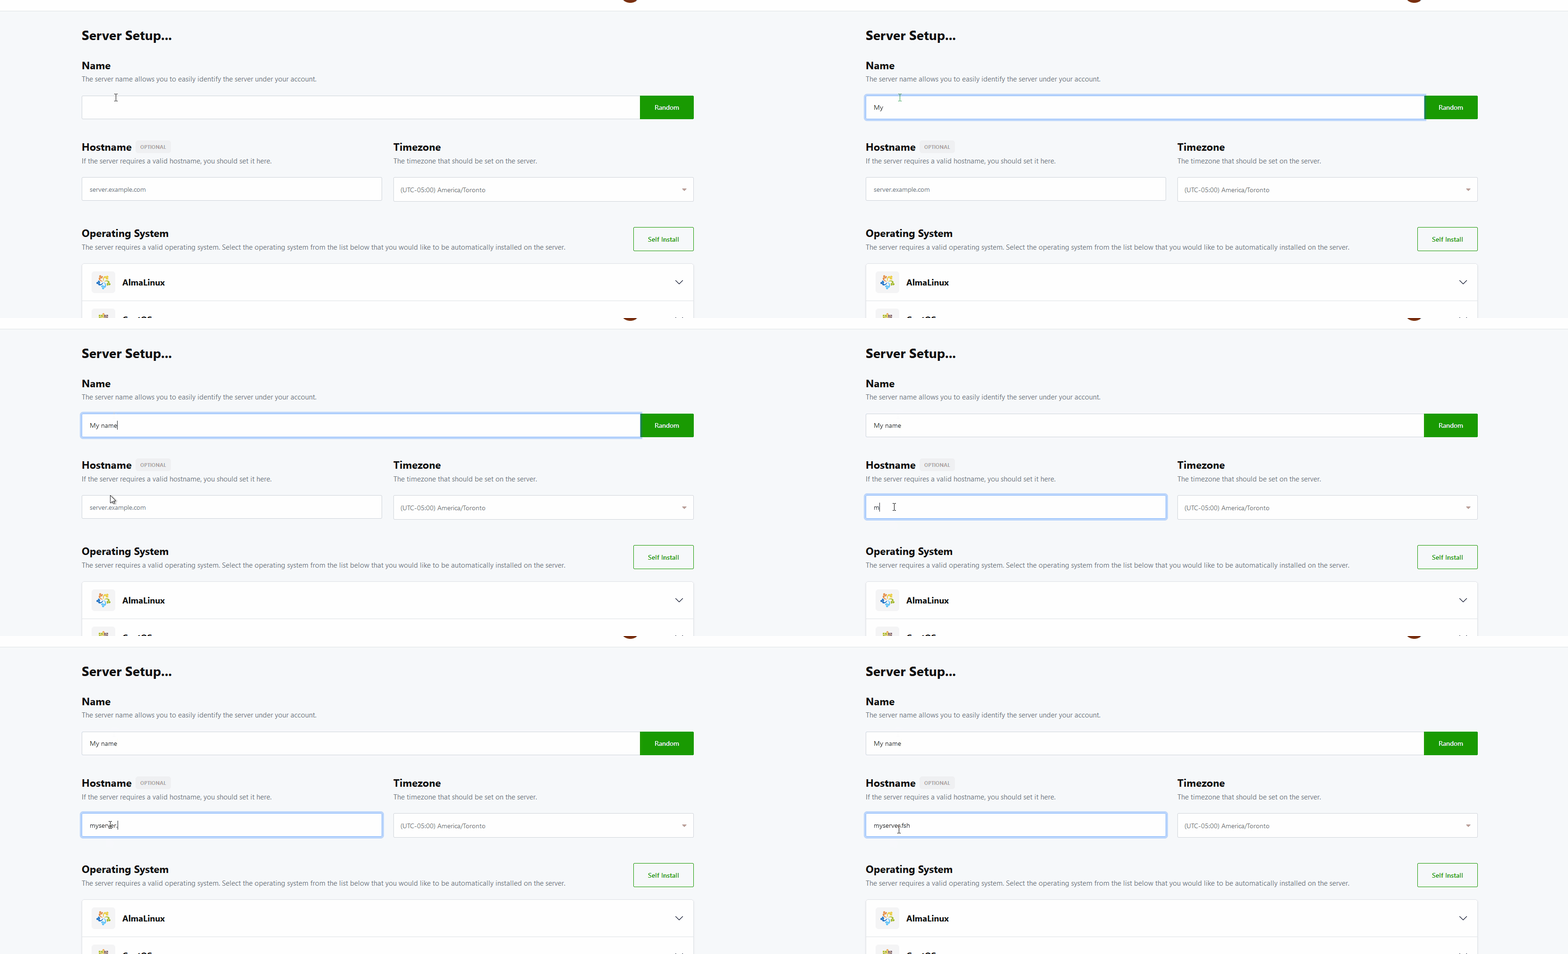
6e943ae6 9f87 45bb A301 1f65811f39d4 Name and Host Name of your server
  1. Now we can install our Operating System (OS).
We recommend with any Linux install you use a SSH Key! it’s not required but it’s good practice for security of your server
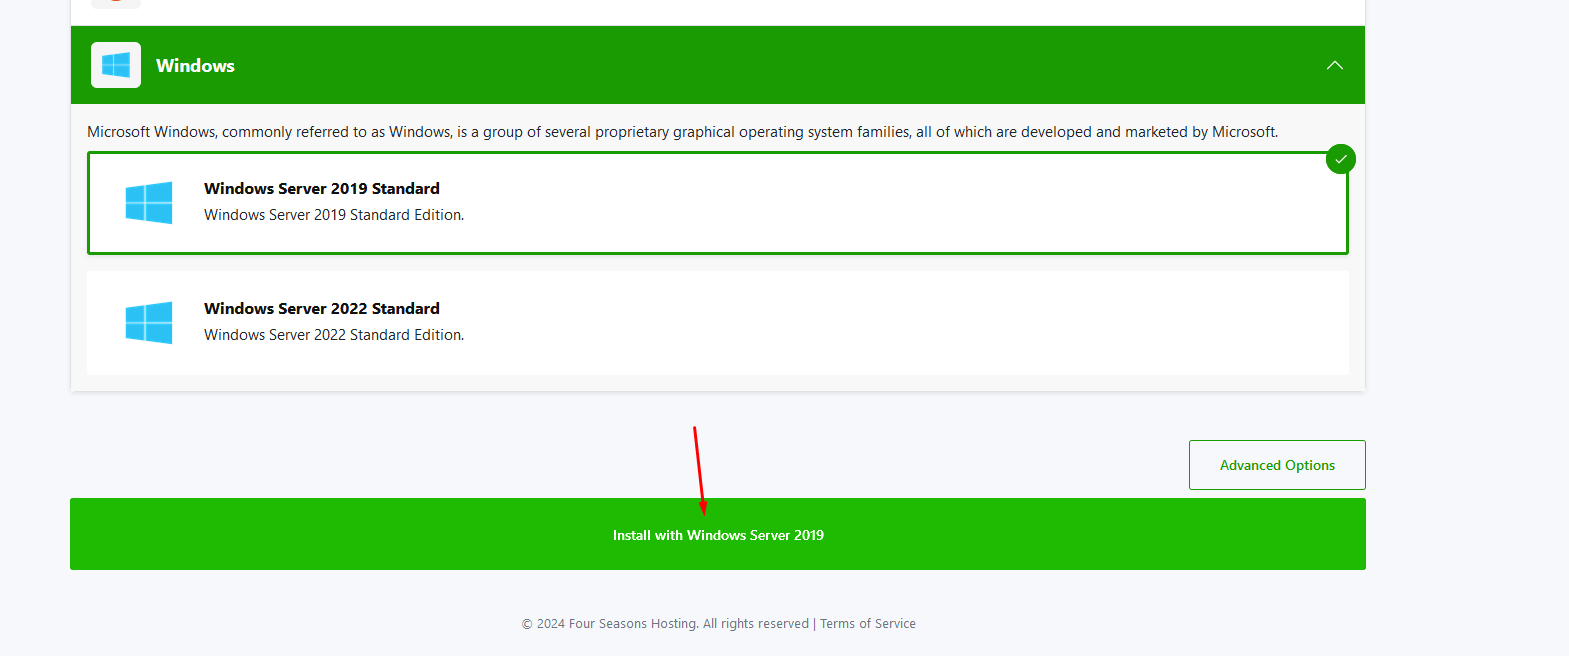
  1. Click on the Group of the OS you would like to use.. For this demo we will use Windows Server 2019.
Clicking on Advanced Options allows you to change your DNS (auto set to Google DNS) and Enable/Disable VNC, this can also be done afterwords on the Dashboard
  1. Now let install the OS
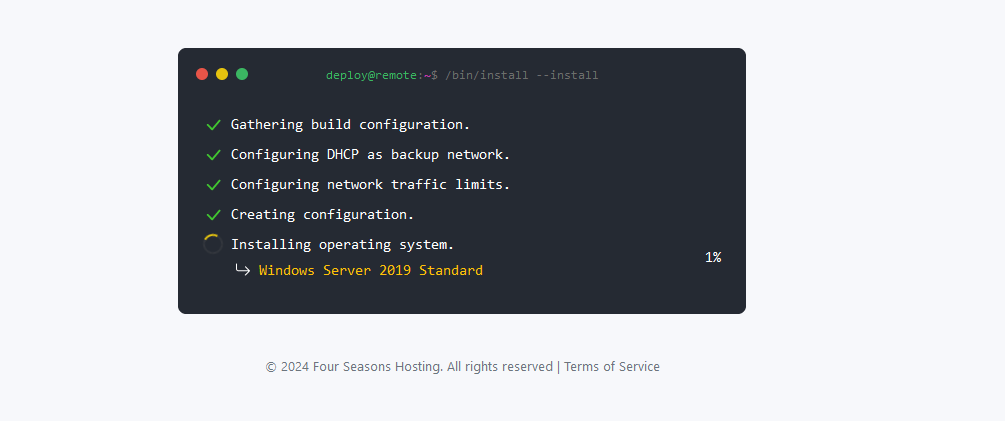
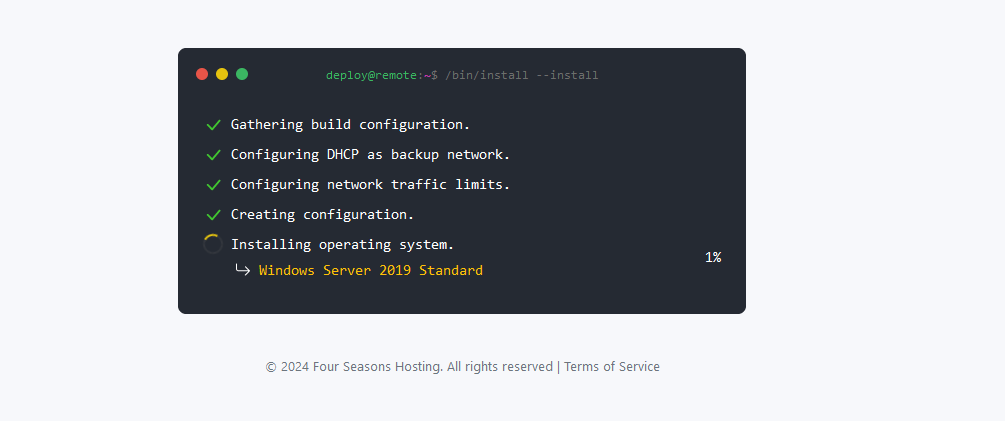
/images/32dc8c22-2e93-47f9-8c44-6cbf930c4294.png Installing Windows Server 2019 Some OS like Windows could take some time installing you may see a popup warning you of this, you can click “Install Now” and continue the install image.png image.png Installing Your OS If deploy-er comes back with a failed task please open a ticket on our Discord or in the Client Portal Once the installation is completed, you will be redirected to the Dash of that VPS server and the VPS login will be emailed to you (check junk folder) Great Job the OS is installed now